UBB.threads 7 Install Guide
- A copy of the UBB.threads software zip file downloaded from the Member Area.
- Access to your server either at the machine directly or via a remote connection method such as FTP.
- A modern web browser such as Google Chrome, Mozilla Firefox, Microsoft Edge or Apple Safari.
UBB.threads Requirements
- A PHP 5.4 or newer enabled website. PHP 7.4 is recommended. PHP 7 is supported since UBB.threads 7.7.0.
- A MySQL 5.5 or newer (MariaDB is also compatible) database accessible from your web server as well as the database username and password.
The following PHP extensions are also needed
- MySQLi and MySQLnd - required for connecting to the database.
- GD (with JPEG support) or ImageMagick - required for image processing
- mbstring - required to process multi-byte characters and conversions
- Common PHP functions must not be disabled
Unzip the Software Files
Unzip and extract the software zip file to your computer.
Connect to the Server
Create Installation Directory
This is the directory within your web root from which your UBB™ installation files will run. Note that when choosing the placement of this directory on your web server, you are also determining the URL. We recommend using "ubbthreads" or "forums".
Transfer Files to Server
This can be done via FTP, SCP, SFTP, other remote connection method or directly from the machine itself if you have such access. Move all of the directories and files extracted from the software zip to the installation directory you created on your server.Note: If you are uploading files via FTP, upload scripts in ASCII (text) mode and images in Binary mode. While uploading in this fashion is not required, it can be helpful for troubleshooting, should you encounter problems in the future. To do this:
1. Change the transfer mode on your FTP program to upload in text or ASCII.
2. Upload all of the files and directories from the extracted software files into the installation directory except for the images directory and its contents.
3. Change the transfer mode on your FTP client to Binary and upload the images directory and its contents. You may not see a "Binary" mode option in your FTP program; you may just have a menu option to check and uncheck ASCII. To upload in Binary, uncheck ASCII.
Set File & Directory Permissions
Linux, Unix, and Mac Servers:
You must set the following permissions on the UBB.threads files and directories. You can use your FTP software to set these permissions. For exact information on setting permissions in your FTP client, see the documentation included with that program.
- admin/ directory: set permissions to 777
- files within the admin/ directory: set permissions to 666
- cache/ directory: set permissions to 777
- cache_builders/ directory: set permissions to 777
- cache_builders/custom/ directory: set permissions to 777 (Required to edit Custom Islands)
- files within the cache_builders/custom/ directory: set permissions to 666 (Required to edit Custom Islands)
- gallery/ directory: set permissions to 777 (Required to use the Gallery feature)
- directories within the gallery/default directory: set permissions to 777 (Required to use the Gallery feature)
- includes/ directory: set permissions to 777
- files within the includes/ directory: set permissions to 666
- languages/ directory: set permissions to 777
- languages/english/ directory: set permissions to 777
- files within the languages/english/ directory: set permissions to 666
- languages/english/admin/ directory: set permissions to 777
- files within the languages/english/admin/ directory: set permissions to 666
- sessions/ directory: set permissions to 777
- styles/ directory: set permissions to 777 (Required to use the Style Editor)
- files within the styles/ directory: set permissions to 666 (Required to use the Style Editor)
- templates/compile/ directory: set permissions to 777
- templates/default/ directory: set permissions to 777 (Required to use the Template Editor)
- files within the templates/default/ directory: set permissions to 666 (Required to use the Template Editor)
- tmp/ directory: set permissions to 777
- uploads/ directory: set permissions to 777
Note: Some servers will not allow scripts to be executed out of a directory that is has 777 permissions, such as the dashboard.php file in the admin directory. If this is true on your server, your UBB.threads forum directory and the admin/ directory should be chmodded 775 or 755 with the files in the /admin directory chmodded 644.
suPHP with a allow_file_others_writeable value of disabled may generate lines containing "is writeable by others" to the error logs.
Where it generally isn't used by most forums, you can manage images in the control panel if you chmod the files and directories within the images/ directory appropriately (777 for directories, 666 for files).
Windows Servers:
Because permissions must be set on the machine itself, and cannot be set remotely via your FTP client, you will need to have access to the machine to set these permissions. If you do not have access to the machine, ask your host to make these changes. If you encounter permission-related problems during the installation process, use this list as a reference to set permissions for the IUSR_ account.
- admin/ directory: read, write, execute and delete permissions
- files within the admin/ directory: read and write permissions
- cache/ directory: read, write, execute and delete permissions
- cache_builders/ directory: read, write, execute and delete permissions
- cache_builders/custom/ directory: read, write, execute and delete permissions
- files within the cache_builders/custom/ directory: read and write permissions
- gallery/ directory: read, write, execute and delete permissions
- directories within the gallery/default directory: read, write, execute and delete permissions
- includes/ directory: read, write, execute and delete permissions
- files within the includes/ directory: read and write permissions
- languages/ directory: read, write, execute and delete permissions
- languages/english/ directory: read, write, execute and delete permissions
- files within the languages/english/ directory: read and write permissions
- languages/english/admin/ directory: read, write, execute and delete permissions
- files within the languages/english/admin/ directory: read and write permissions
- sessions/ directory: read, write, execute and delete permissions
- styles/ directory: read, write, execute and delete permissions
- files within the styles/ directory: read and write permissions
- templates directory: read, write, execute and delete permissions
- templates/compile directory: read, write, execute and delete permissions
- templates/default/ directory: read, write, execute and delete permissions (Required to use the Template Editor)
- files within the templates/default/ directory: read and write permissions (Required to use the Template Editor)
- tmp/ directory: read, write, execute and delete permissions
- uploads/ directory: read, write, execute and delete permissions
Run Installer
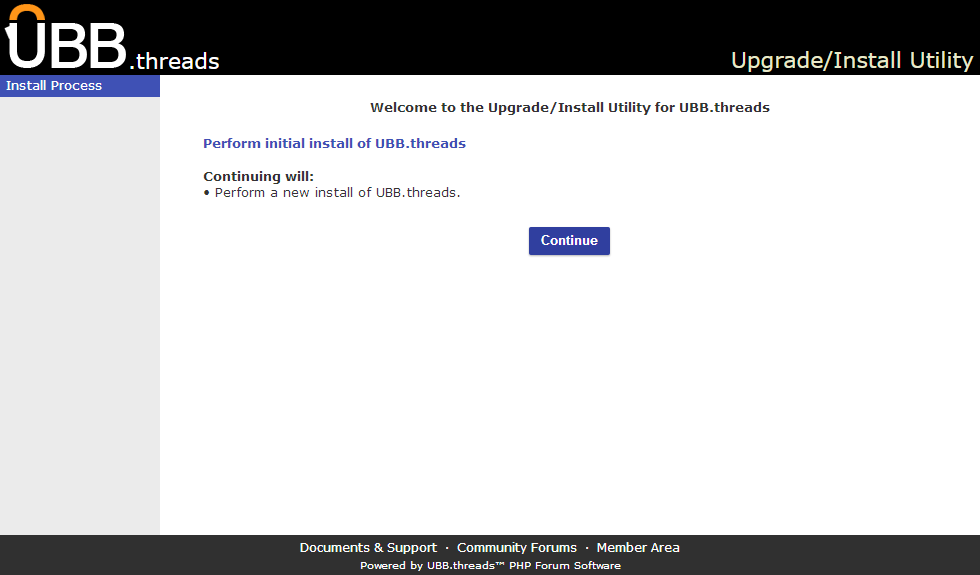
Bring up the "install/index.php" script with your web browser.
If you've uploaded the files to a directory called forums, the URL to the index.php script in your install/ directory would look like this:
https://www.example.com/forums/install/index.php
Check Permissions
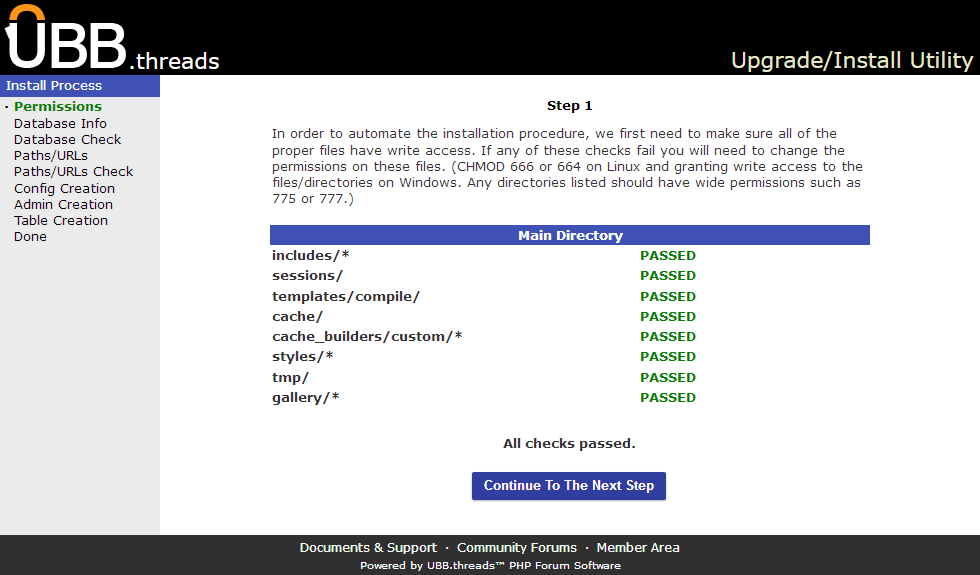
In this step, the application checks the set permissions. If you've properly set the permissions as outlined above, each of the checks conducted by the installation script will result in a green "PASSED" message. If any of the directories or files do not have the proper permissions or do not exist, the installation will note this with a red "FAILED" message.
If you receive the "FAILED" message, reset the permissions of that item and click the "Try Again" button.
Once each of the checks results in the "PASSED" message, you can click the "Proceed to Next Step" button. You should not proceed to the next step until each of the files/directories listed result in the "PASSED" message.
Enter Database Information
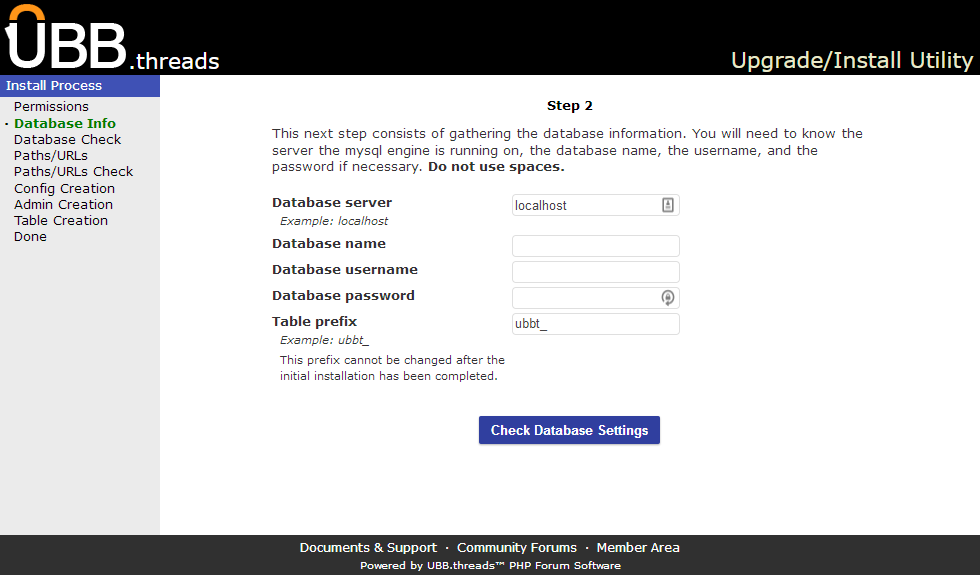
For the UBB.threads software to properly store your data, it must have access to your MySQL database. Entering your database information into this form allows the UBB.threads installation script to build the necessary database tables and stores the database information in the configuration files so that the application can write new data (posts, registrations, etc.) to the database.
Enter your Database Server Name, Database Name, Database User and Database Password into the appropriate fields. If you do not have this information, you will need to contact your host or MySQL documentation.
By default, the Tablename Prefix used is "ubbt_". This prefix will precede the name of every table created by the UBB.threads installation script. If you wish to use another prefix, change this value.
Verify that the information you've entered is correct and click "Check Database Settings".
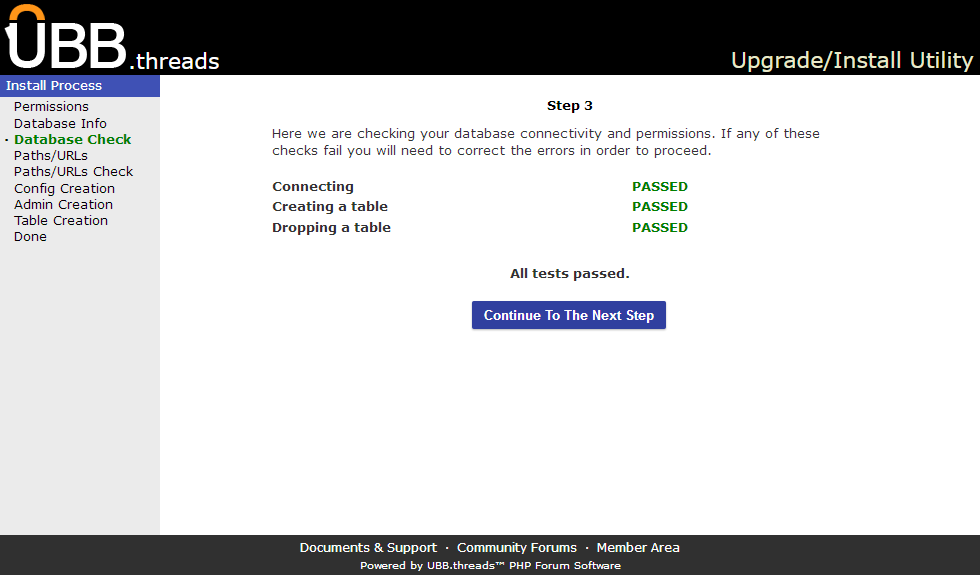
If the installation script tells you that connecting to the database with the information provided has "FAILED", use the "Verify Settings" button to return to the form. Check your settings, contacting your host if necessary, and try again.
If the installation script tells you that connecting to the database with the information provided has "PASSED" you may then click the "Next Step" button to proceed.
Enter Paths and URLs
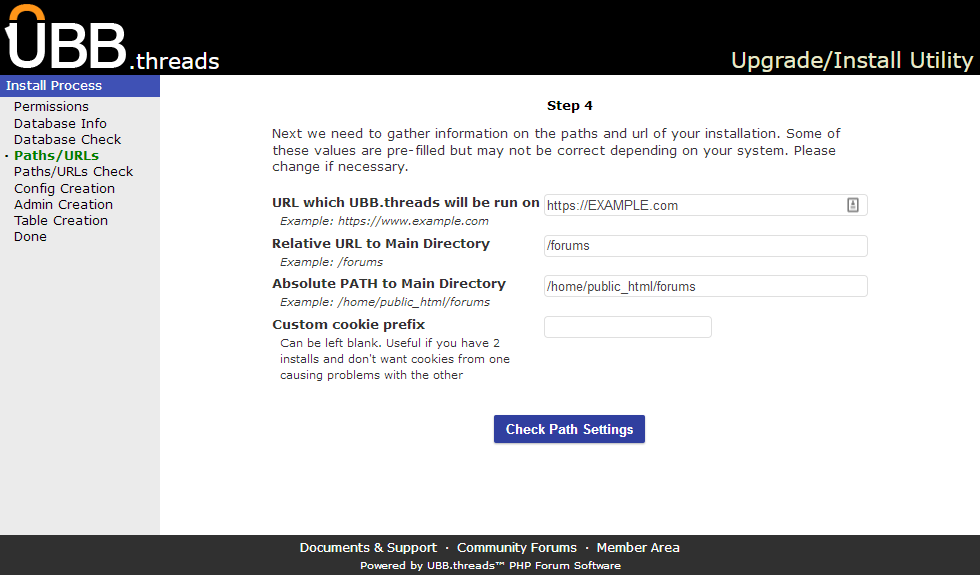
If PHP has been properly configured to provide this information, UBB.threads will automatically detect the correct path & URL settings for this step, but please verify before continuing.
Verify that the field for "The Domain UBB.threads will be run on" is correct. There should be no slash trailing the domain. It should look like this:https://www.example.comVerify that the field for "Base URL to the UBB.threads Install" is correct. This should be the path to the installation relative to the URL. There should be no slash trailing the name of the directory. It should look like this:
/forumsVerify that the field for "Path to Your UBB.threads Install" is correct. There should be no slash trailing the name of the last directory. It might look like this:
/home/yourdomain/public_html/forumsIf you are running multiple installations of UBB.threads on this domain, you can also choose to use a custom cookie prefix to avoid cookie problems. If you wish to do this, enter a prefix into the "Custom Cookie Prefix" field here.
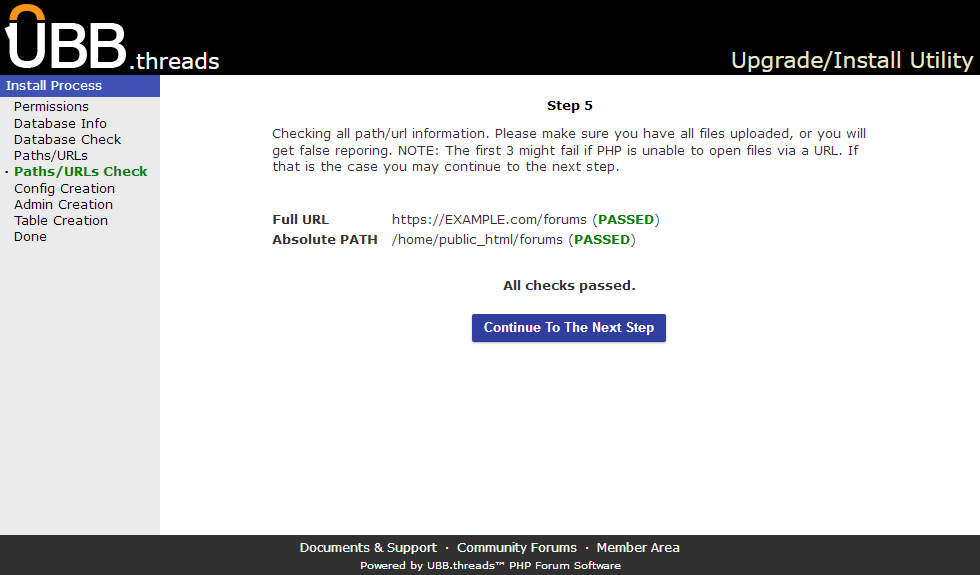
If the installation script tells you that the information provided has "FAILED", use the "Verify Settings" button to return to the form. Check your settings, contacting your host if necessary, and try again.
If the installation script tells you the information provided has "PASSED" you may then click the "Next Step" button to proceed.
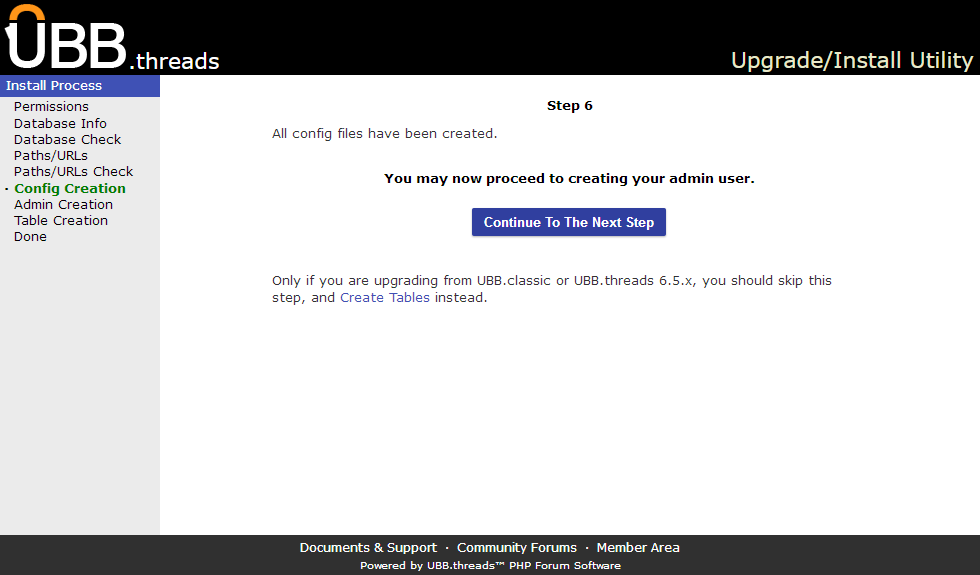
Config Creation
This screen creates your initial forum configuration file. It is populated with default forum settings and the connection information you provided the in the previous steps.
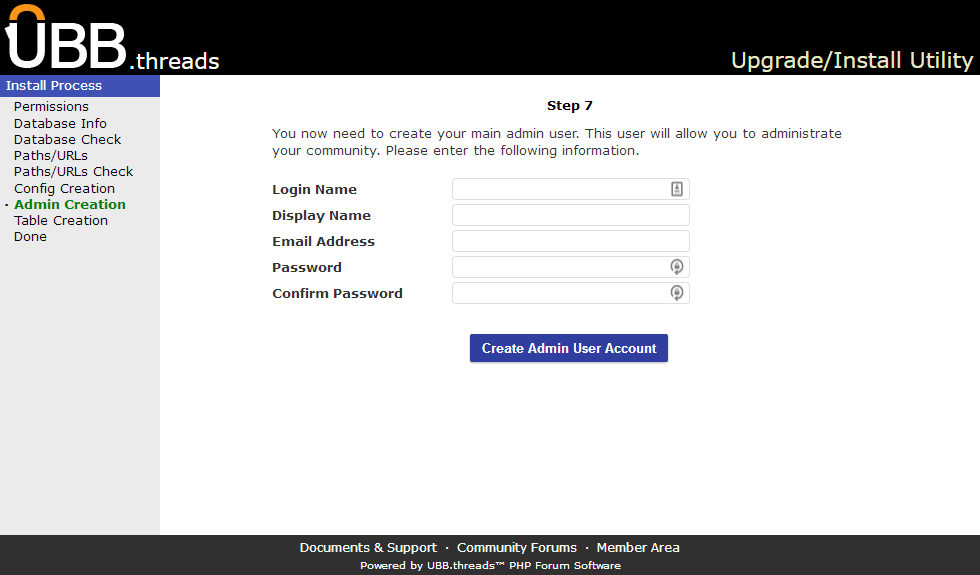
Create the Admin User
If you are importing another forum into this installation, you may skip this step. You will use your old Administrator username and password.
The user you create during this step will be the primary administrator of the board. Enter the preferred Login Name (the name used for logging in), Display Name (the name displayed with your posts on the community), Email Address and Password into the corresponding fields and click "Create Admin User Account".
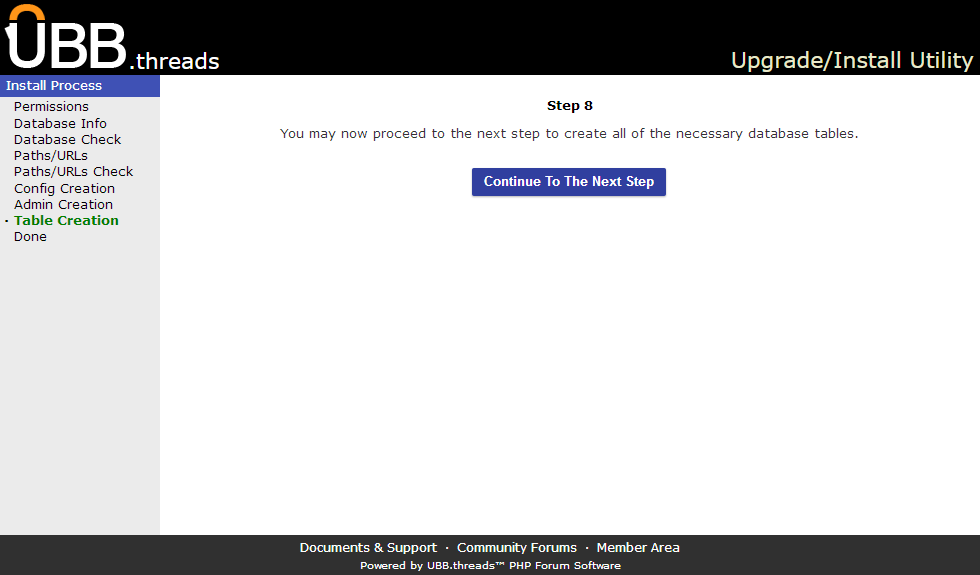
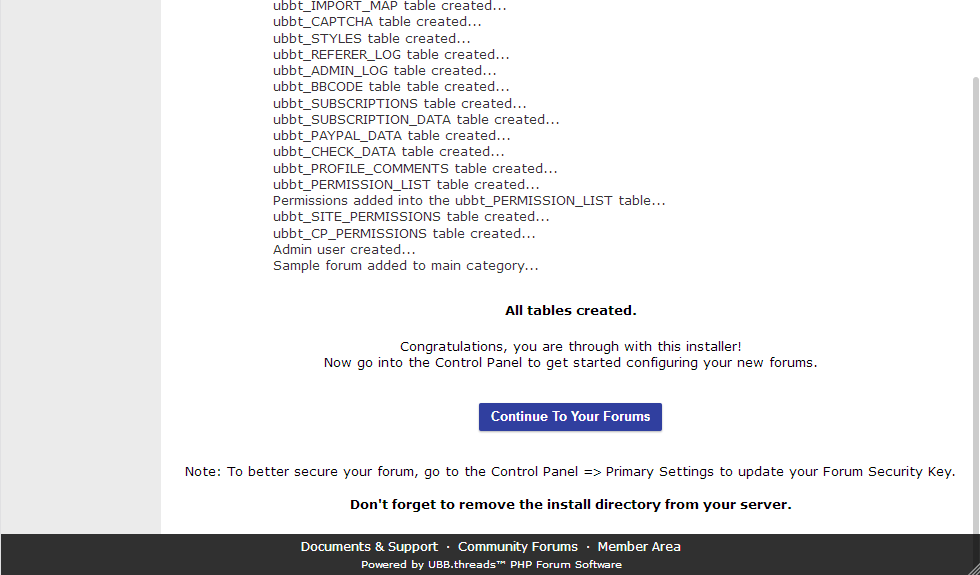
Create the Database Tables
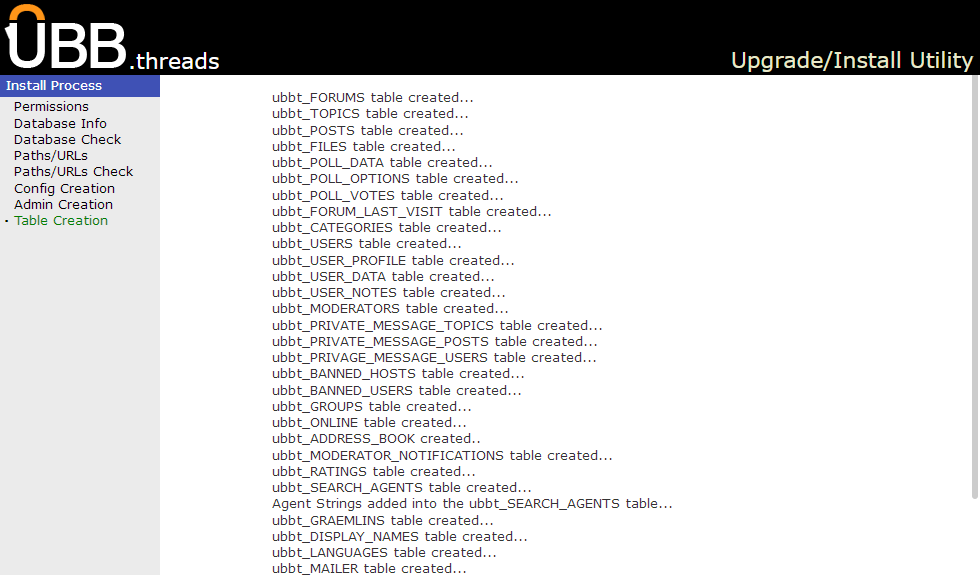
Once you have created your admin user, the installation procedure will take you through the automatic building of the database tables.
Delete the Install Files
Congratulations, you have successfully installed UBB.threads!
Now that we are through with the installer, delete the install/ directory from the server.
Note: You should not continue until you have deleted this directory. Leaving these files on the server could cause security problems later.

