USA Trusted Seller (With stock on-hand)Free 30 Day ReturnsQuick Handling / Shipping400+ available in 50 count packs. MSG us for a bulk listing.
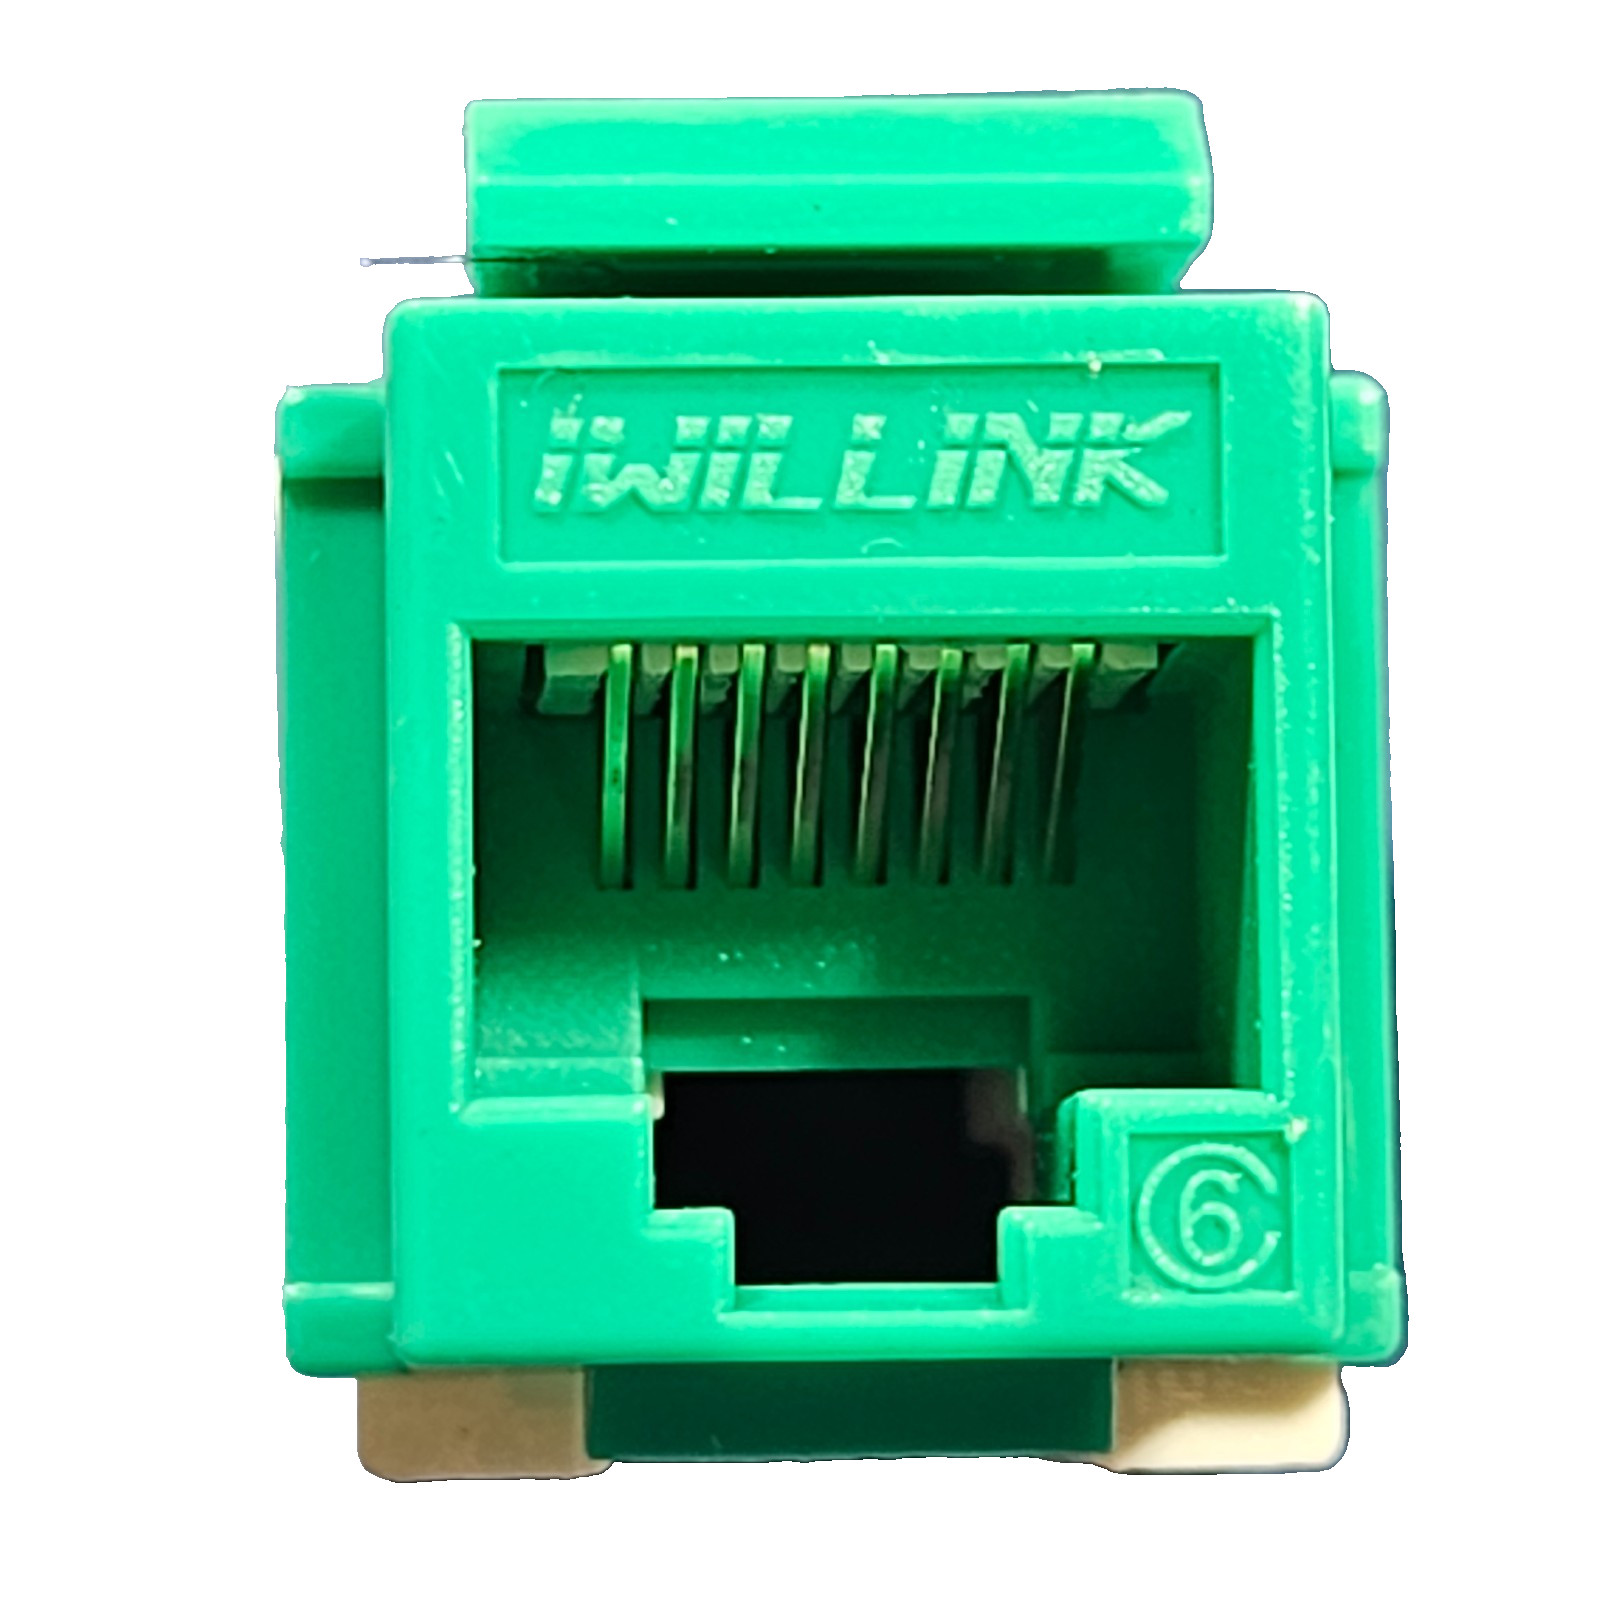
Lot of 10 CAT6 RJ45 Ethernet connectors from the brand Iwillink. These keystone jacks are green in color and designed for standard wall plates or networking or industrial patch panels. They support both T568A and T568B wiring standards and feature a punch-down style for easy termination. Each connector includes strain relief and comes with a zip tie for secure installation. With a compact design and snap-in place feature, these Ethernet connectors are ideal for networking setups requiring multiple connection points.Installation: CABLE, TOOLS, WALL PLATE, & PATCH PANEL NOT INCLUDED!1) Using knife, wire strippers, or cable stripping tool, strip about one connector body length of the outer jacket off of the cable. Use care not to cut or nick the individual wires insulation.2) Separate individual wires and straighten them by hand.
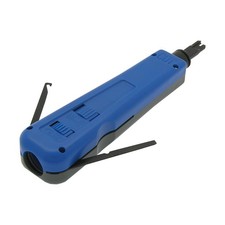
3) Lay stripped end of cable on connector and add zip tie to provide strain relief. Make sure to tighten onto outer insulation and not the wires. Pull tight and trim excess from zip tie.3) Determine if T568A or T568B wiring color code is required for your application. Position wires using the appropriate A or B color code convieniently printed on the side of the connector. (Type A shown)4) Use punch down tool (or small flat blade screwdriver, or thumbnail in a pinch) to push each wire down into its position. Push down far enough to keep wire from moving and coming loose. Use plastic white caps and a pliers to fully seat the wires into the teeth of the connector. VERIFY PROPER ALIGNMENT BEFORE SQUEEZING! Install one cap at a time gently working back and forth from one side of the cap to the other, to squeeze it down evenly. Repeat for second cap. Caps should go all the way down and snap in place.5) Trim excess wires as short as possible.6) Once you have terminated the other end of the cable (Using the same color code type A or B) it is ready to be tested and installed in your wall plate or patch panel. Check alignment then gently push in until it snaps into place. WELL DONE! It gets way easier after you have done several.
Ships bubble wrapped inside Poly Mailer with Insurance and Tracking. (3 1/2 oz. / 10 connectors + packaging weight)USPS Ground Advantage (Small surcharge for shipping to Alaska and Hawaii)2-5 Business Days Shipping Time1 Business Day Handling Time