 When you click on links to various merchants on this site and make a purchase, this can result in this site earning a commission. Affiliate programs and affiliations include, but are not limited to, the eBay Partner Network. When you click on links to various merchants on this site and make a purchase, this can result in this site earning a commission. Affiliate programs and affiliations include, but are not limited to, the eBay Partner Network.
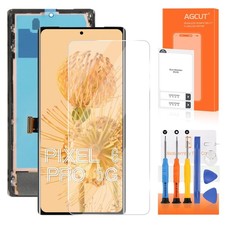
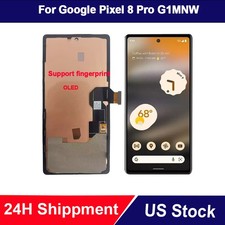
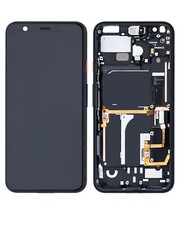
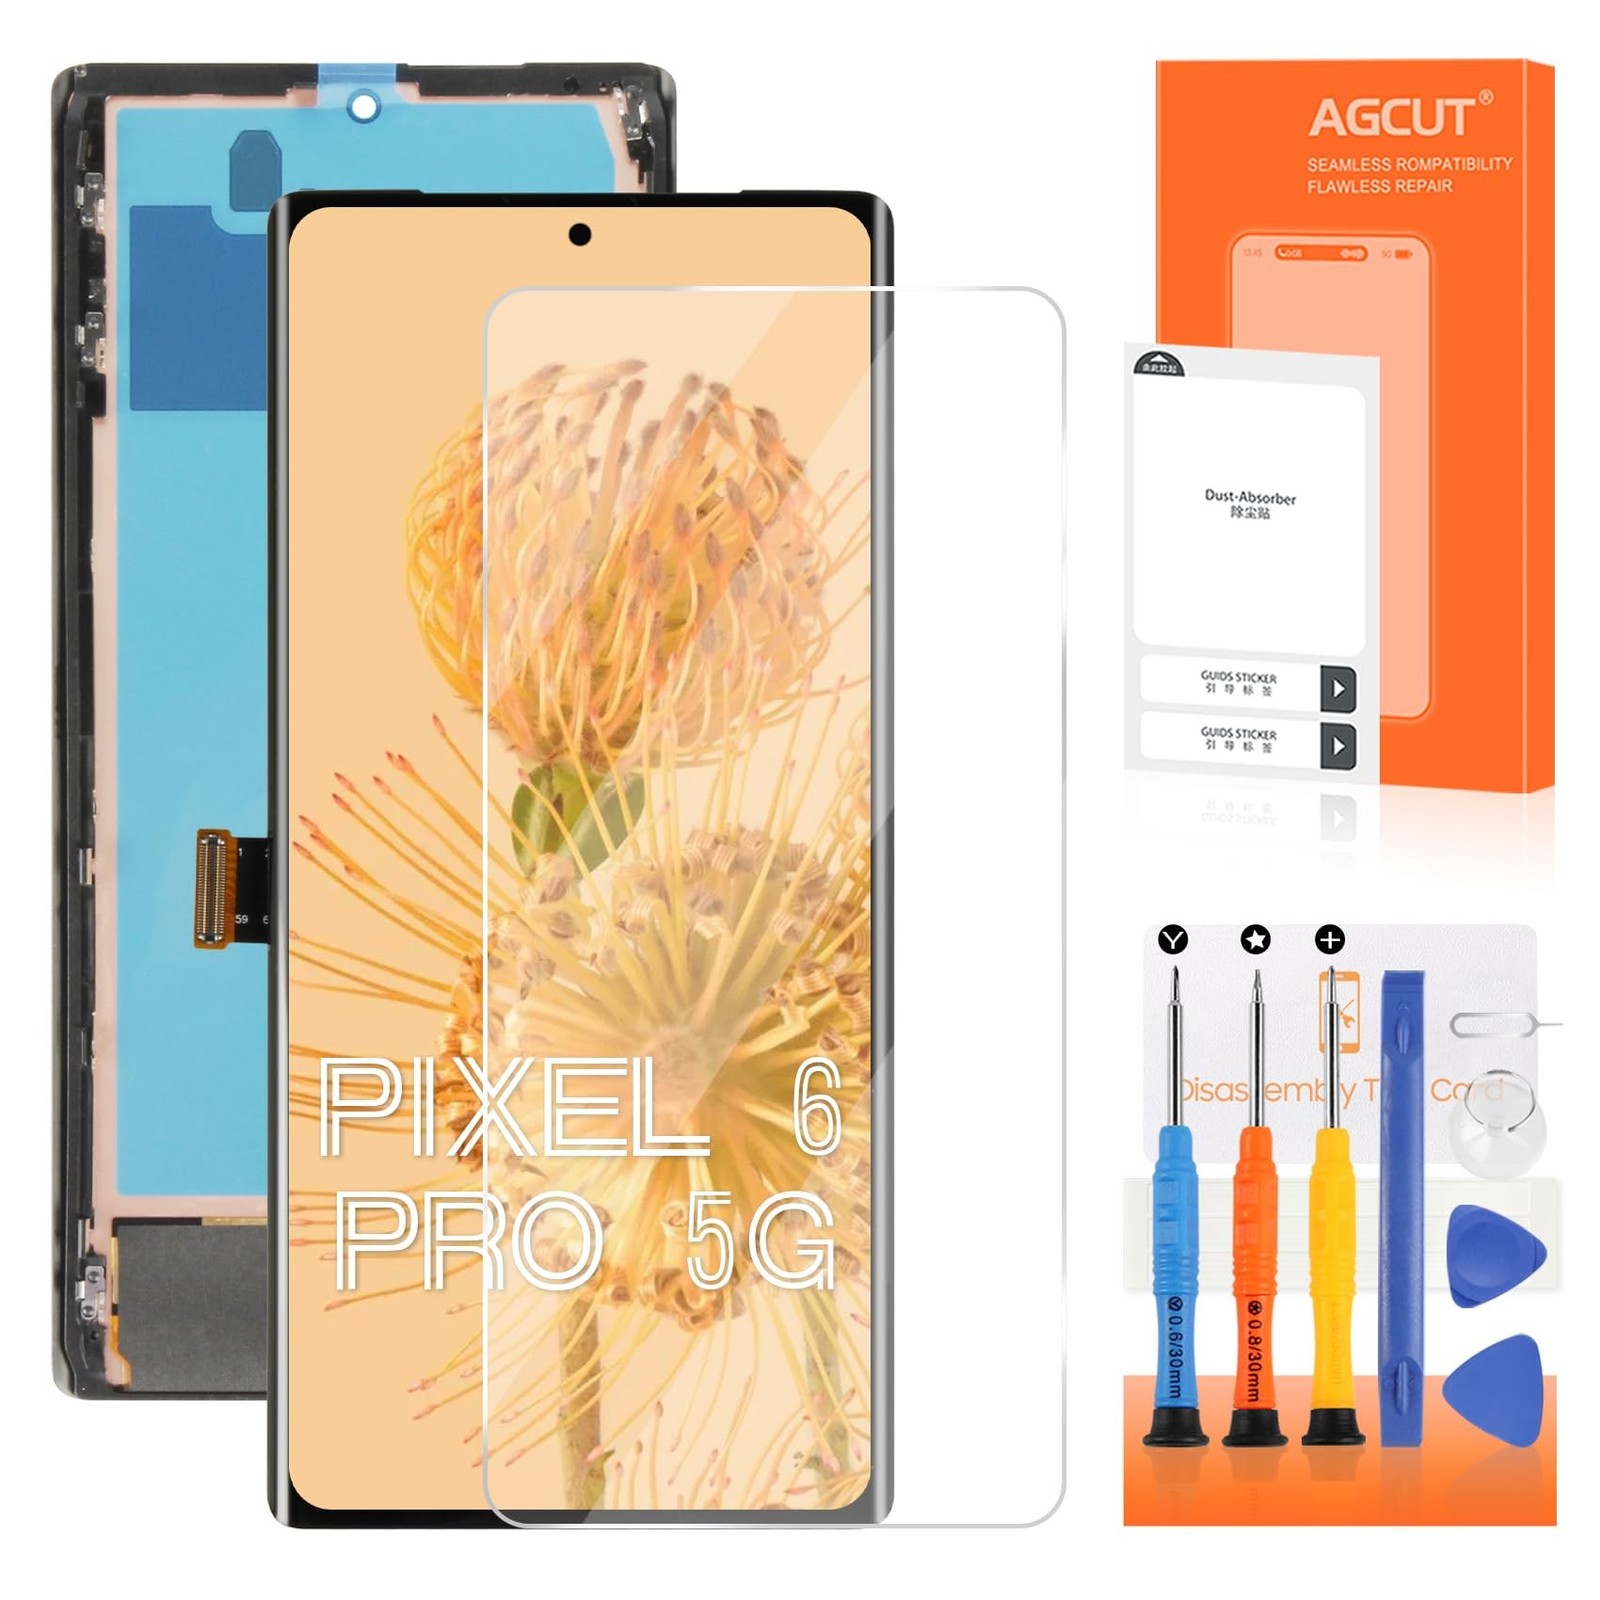
OLED for Google Pixel 6 Pro Screen Replacement for Pixel 6 Pro LCD Display GLUOG G8VOU LCD Digitizer Screen Touch Assembly with Frame+Fingerprint Cable Installation Guide Product Details - Package Dimensions: 1.24 x 0.77 x 0.46 inches
- Item Weight: 5.3 ounces
- Other display features: Wireless
- Whats in the box: for Google Pixel 6 Pro
- Manufacturer: AGCUT
- Date First Available: June 24, 2025
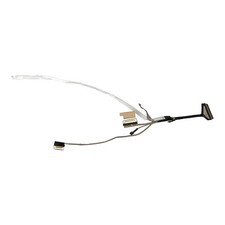
- Tailored Compatibility for Consistent Fingerprint Performance: Specifically engineered for Pixel 6 Pro (models GLUOG G8VOU ), this OLED screen replacement for pixel 6 pro requires reusing the original fingerprint cable to enable unlocking. Non-OEM cables might cause system glitches or recognition failures. Refer to our provided guide for smooth functionality restoration.
- Complete Installation Package: Each purchase comes with a brand-new OLED pixel 6 pro screen replacement, a backup flex cable to safeguard against disassembly damage, and a professional-grade tool kit. equipping you with everything needed to replace the screen effortlessly.
- Safety-Focused Approach & Clear Guidance: Our detailed installation instructions provide step-by-step guidance for the safe removal of the fingerprint recognition cable, including practical tips to prevent cable breakage and clear instructions for connector operation.
- Thorough Calibration Tips & Problem-Solving Resources: Enhance fingerprint recognition by following our system-level calibration advice, such as enrolling fingerprints from multiple angles and ensuring dry hands during operation. Additionally, our troubleshooting section provides effective solutions for common issues like cable connection errors and sensor problems.
- Robust Post-Purchase Support: Benefit from our 180-day warranty for worry-free shopping. In case of product-related damage during installation (verified by video review), we offer free replacements. Our customer support team is available 24 to answer your questions and provide professional assistance at any time.
Pixel 6 Pro Fingerprint Sensor Installation Guide for ScreenReplacementProfessional Guide for Fingerprint Function Migration 🌟 CoreInstallation NoticeThis OLED screen supports fingerprint recognition but doesNOT include a fingerprint sensor or cable. Reuse the original fingerprintcable from the old screen to enable unlocking—non-OEM cables may cause systemerrors (e.g., "Fingerprint sensor not detected"), recognition failures, orcompatibility issues.Warning: Discarding the original cable voids recommendedpractices and may lead to permanent functionality loss. 📝 Pre-InstallationSteps (CRITICAL)2 Critical Actions Before Removing Old Screen:Access Settings→ Biometrics → Fingerprint on your device (or Google’s official site) tocalibrate the old screen’s fingerprint function, ensuring the cable canregister and recognize prints.Test unlocking 10+ times after calibration.Proceed with disassembly only if functionality is verified—faulty cables willcause irreversible issues when migrated.🧰 Tools & Materials RequiredOriginalfingerprint cable (pre-calibrated and functional)New OLED screen (thisproduct)Spare flex cable (recommended for backup)Tools: Fine tweezers, 60-70℃heat gun, 45° plastic pry tool, 0.1mm thermal adhesive, positioning stickers,anti-static gloves/mat🔧 Step-by-Step Installation Process⚠️ Safety Protocol:Power off → remove battery (if detachable) → use anti-static gear on aninsulated work surface. 1. Removing Original Cable (High-Risk Step)a. FlexCable Disconnection Locate the white/black flex cable connector on themotherboard (with latch).✅ Use tweezers to release the latch, pull the cableVERTICALLY—DO NOT twist (0.5mm width, Very fragile).b. Adhesive RemovalIfcable is glued to the old screen: heat module perimeter with heat gun (≥10cmdistance, ≤70℃), then pry at 45° with a plastic tool.2. Installing on NewScreena. Precision PositioningUse positioning stickers to mark the cablelocation (reference old screen photos for alignment).Apply 0.1mm thermaladhesive to the cable back for enhanced ultrasonic conductivity.b. CableConnection Insert the cable into the motherboard port until it clicks; securewith insulating tape to prevent bending.Route the cable per OEMspecifications, fixing it in the slot to avoid friction with components.c.Screen BondingAvoid pressing over the fingerprint module area; use supportblocks for even pressure during installation.Keep adhesive 5mm away from themodule to prevent ultrasonic interference.  |
|